The Pionex Trading Bot App is a powerful tool for anyone looking to venture into the world of cryptocurrency trading. With various bots available for different trading strategies, it’s crucial to understand how to navigate the platform effectively. In this blog post, we’ll explore the key features of Pionex, how to set up your account, and how to utilize its various trading bots to maximize your trading potential.
Navigating Your Pionex Account
Before diving into trading, it’s essential to familiarize yourself with the Pionex interface. Start by accessing your wallet to get an overview of your account balance and assets.

To check your account overview, click on the wallet icon. Here, you can switch between two sections: “Trade” and “Earn.” The “Trade” section displays the bots you are currently running and the assets you hold. The “Earn” section reflects earnings from different types of bots.
Depositing Funds into Your Account
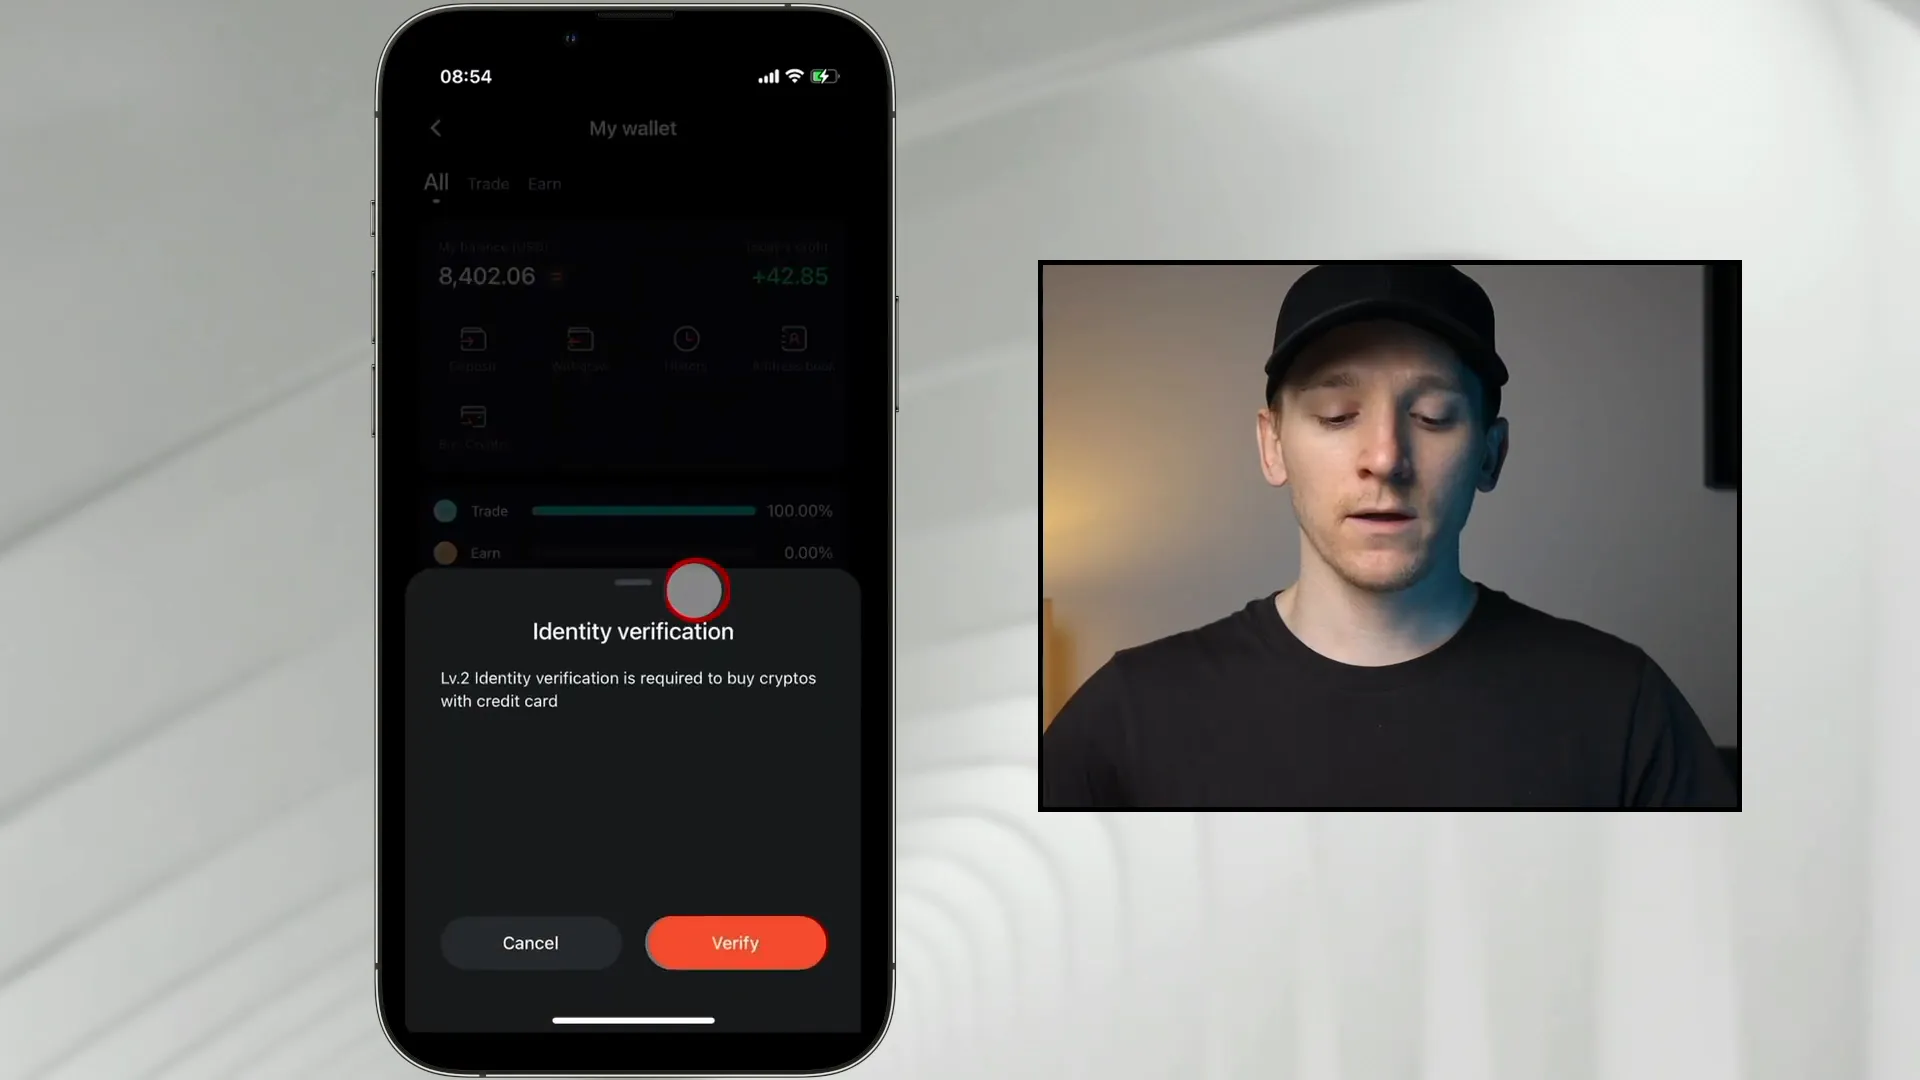
To start trading, you’ll need to deposit funds into your Pionex account. Click on the wallet icon again and select “Buy Crypto.” Keep in mind that you will need to complete KYC (Know Your Customer) verification, especially if you are in the United States.

While you can use a credit card to fund your account, it may be more cost-effective to transfer cryptocurrency from a lower-cost exchange like Binance. Pionex primarily uses USDT (Tether) as the main stablecoin for trading, so ensure you have some Tether before proceeding.
Understanding the Markets Tab
The Markets tab on Pionex is your gateway to exploring various trading pairs and bots. By clicking on “Markets,” you can access different sections, including Spot Market and Bitcoin Markets.

In the Spot Market, you can trade various cryptocurrencies using USDT. The Bitcoin Markets allow you to use Bitcoin to swap for other cryptocurrencies. Additionally, you can view the top gainers and losers, providing insights into market trends.
Manual Trading on Pionex
If you prefer manual trading, Pionex offers a straightforward interface. Click on “Trade” and then select “Manual” to access the manual trading screen. Here, you can set limit or market orders based on your trading strategy.

Enter the price and amount you wish to trade, and hit “Buy” to execute your manual trade. For beginners, it’s advisable to review beginner guides on manual trading to build your confidence.
Exploring the Grid Trading Bot
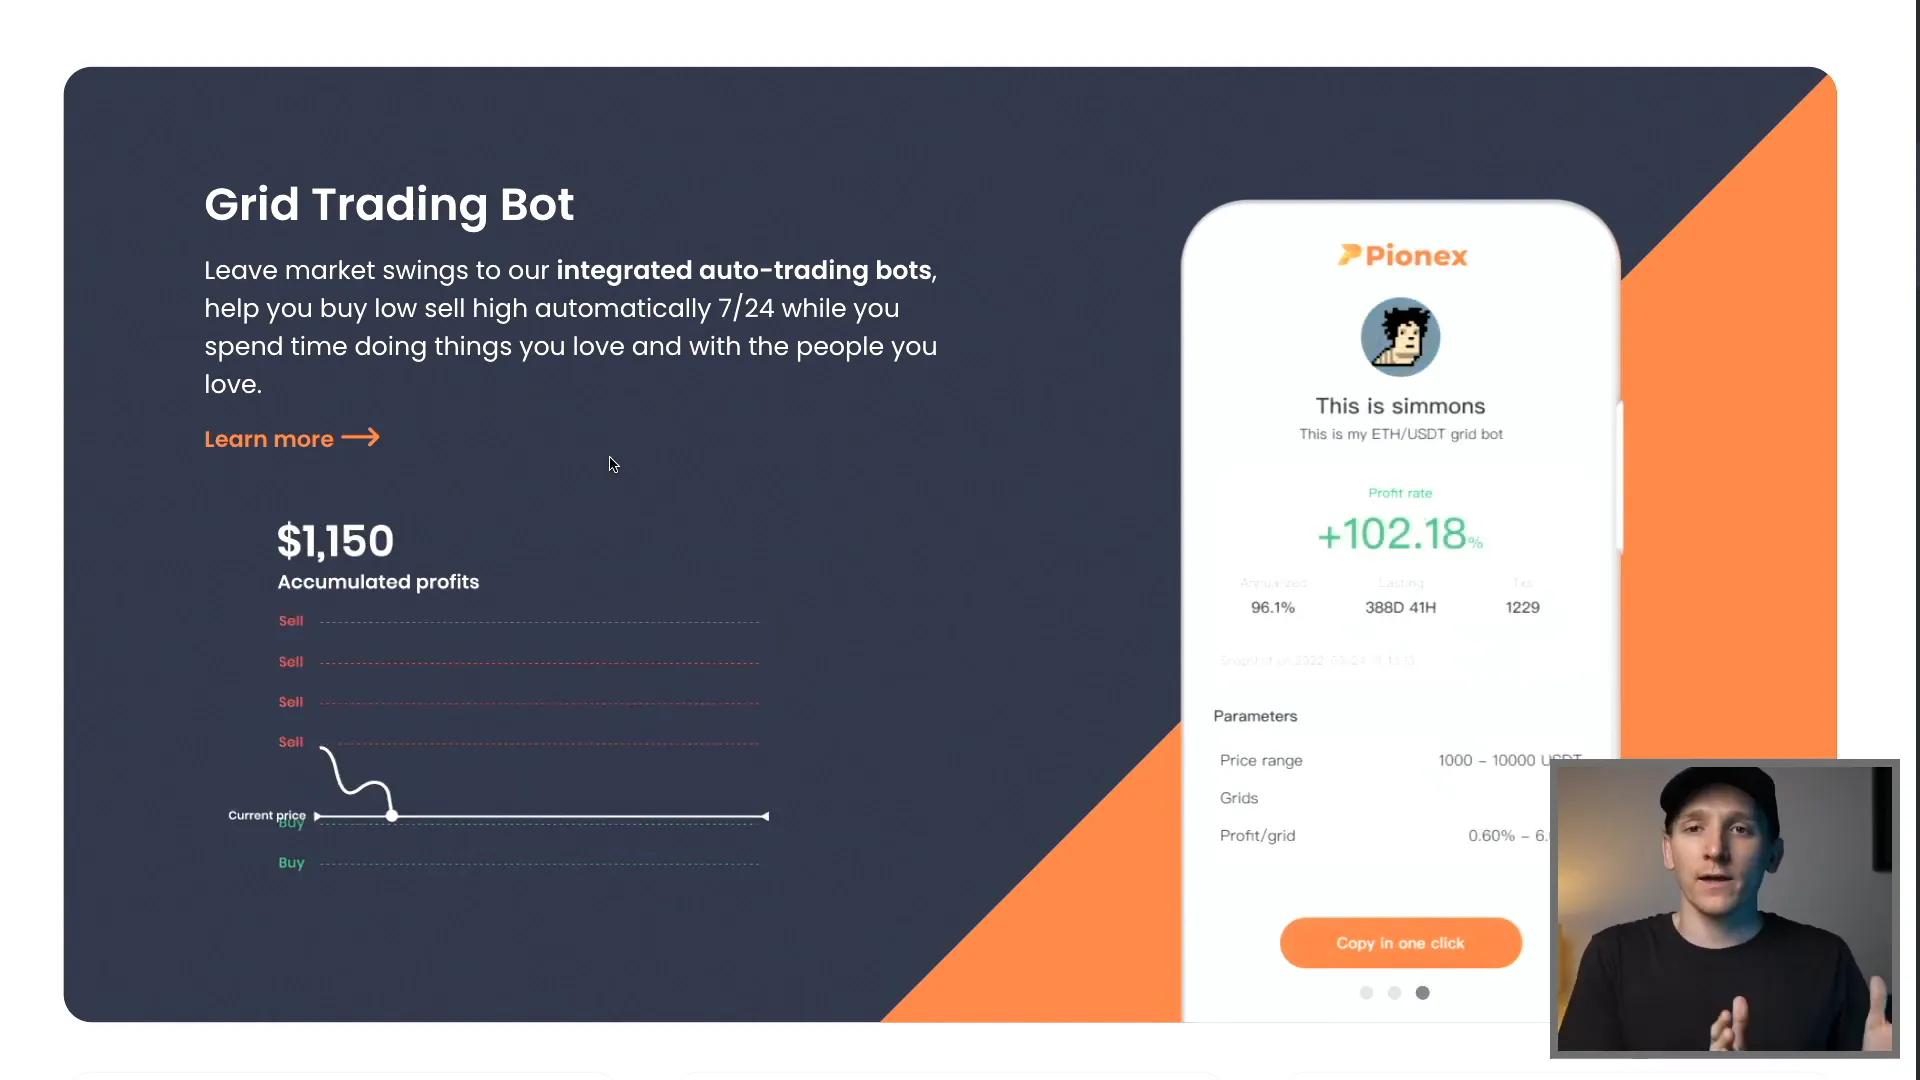
The Grid Trading Bot is one of the most popular bots on Pionex, designed to capitalize on market volatility. It places buy and sell orders at predetermined intervals, allowing you to profit from price fluctuations.

To create a grid bot, you need to define the price range within which the bot will operate. For example, if Bitcoin is currently priced at $99, the bot will place buy orders below this price and sell orders above it. This strategy aims to generate profits from small price movements.
Setting Up Your Grid Bot
To set up a grid bot, navigate to the bot creation section and select “Create Grid Bot.” You can choose between AI and manual settings. The AI option uses historical data to recommend the best strategies for your trading pair.

When defining the parameters, set the lower and upper price bounds based on your trading outlook. A tighter range may yield higher profits but can also limit trading opportunities if the price moves outside this range.
Utilizing the Moon Bot
The Moon Bot is another variant of the grid bot, designed for long-term trading. It automatically adjusts its price range based on market conditions, making it ideal for traders who prefer a “set and forget” approach.

To set up the Moon Bot, simply select the cryptocurrency you wish to trade. The bot will automatically determine the optimal price range and grid settings for you.
Leveraged Grid Trading Bot
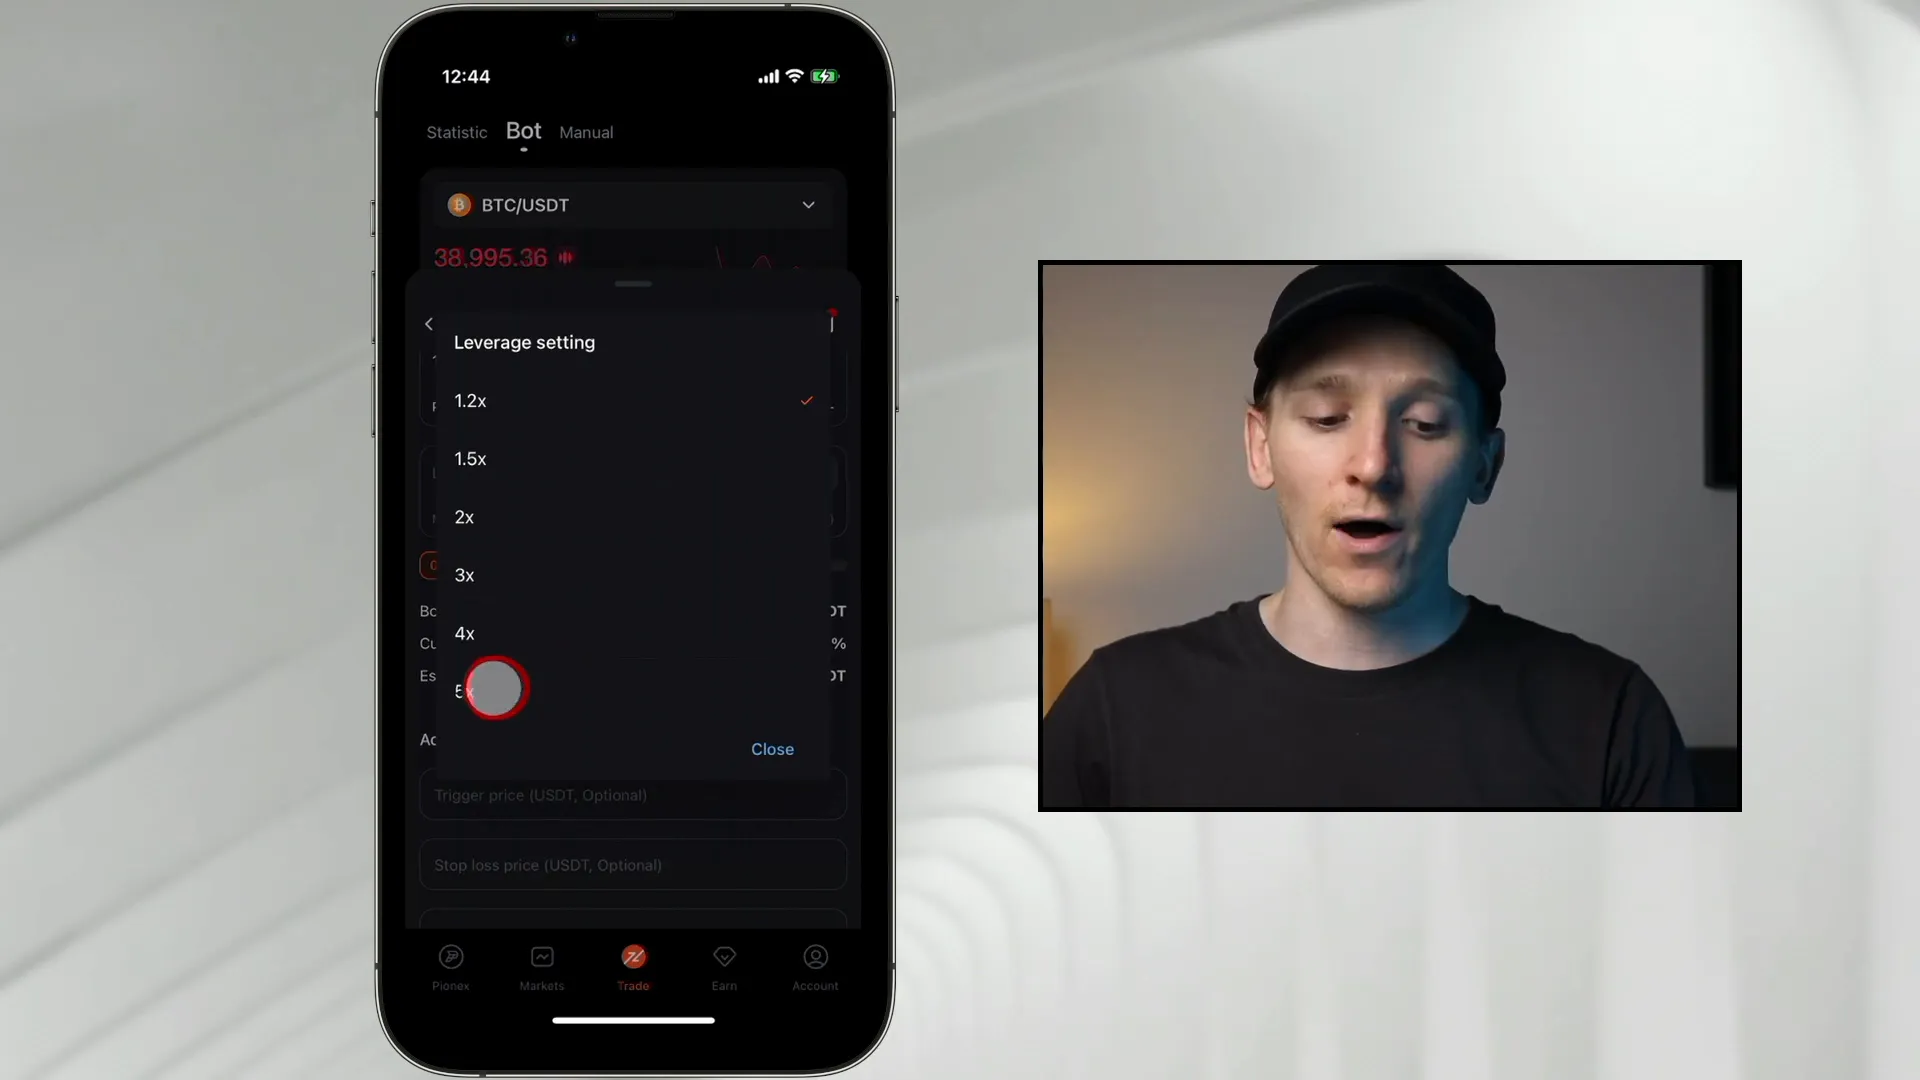
The Leveraged Grid Bot allows traders to borrow funds to amplify their trading positions. While this can lead to greater profits, it also increases risk significantly and is generally not recommended for beginners.

When using a leveraged bot, you can set your desired leverage level, such as 2x or 5x. However, be cautious, as a small price drop can lead to significant losses.
Setting Up a Leveraged Bot
To create a leveraged grid bot, select the desired leverage and input your trading parameters. It’s crucial to set a stop-loss price to protect your capital from significant losses.

Exploring the Arbitrage Bot
The Arbitrage Bot offers a different trading strategy by attempting to profit from price discrepancies between different markets. This bot does not take a directional position in the market, making it a lower-risk option.

When using the Arbitrage Bot, you can choose between moderate and aggressive modes. The moderate mode typically offers lower yields but less risk, while the aggressive mode can yield higher returns at the cost of increased risk.
How the Arbitrage Bot Works
The Arbitrage Bot operates by executing simultaneous buy and sell orders in different markets, capitalizing on the funding rates in the futures market. This allows you to generate returns without taking a risk position in the underlying asset.

While the yields can vary, the Arbitrage Bot is designed to provide a consistent income stream regardless of market conditions.
Final Thoughts on Using Pionex Trading Bot App
The Pionex Trading Bot App offers a range of tools and strategies for both novice and experienced traders. Whether you choose to use grid bots, moon bots, leveraged bots, or arbitrage bots, understanding how each works is crucial for maximizing your trading potential.
To start trading with Pionex, consider signing up through this link for potential bonuses: Pionex Trading Bot. With the right strategies and tools, you can navigate the cryptocurrency markets more effectively and potentially increase your returns.
For more in-depth knowledge on cryptocurrency trading, check out the Crypto Investor Course | MoneyZG, where you can learn various trading techniques from beginner to advanced levels.
Join the community on Discord to share experiences and tips with fellow traders. Happy trading!
